
Inkscape is one of my favorite open-source graphic design tools. It has an intuitive interface that is relatively easy to master. As I learned to use Inkscape, I became familiar with vector graphics. I appreciated their usefulness in various projects, such as posters, t-shirts, hoodies, and any items that feature graphics. Vector graphics consist of paths defined by mathematical formulas, allowing them to be infinitely scalable without losing quality. It remains crisp and clear whether you shrink an image to fit a postage stamp or enlarge it to billboard size.
One way I like to use Inkscape is to put text on paths in my creations. This is not as intuitive, and I want to provide you with a short how-to to help you get started on your own Inkscape journey to creating creative graphics for your projects.
First you need to install Inkscape on your computer if it is not installed. On Linux, you can do that by entering the following command:
$ sudo dnf install inkscape (Fedora/OpenSuse)

or

$ sudo apt install inkscape (on Ubuntu/Debian)
You can install Inkscape on macOS and Windows.
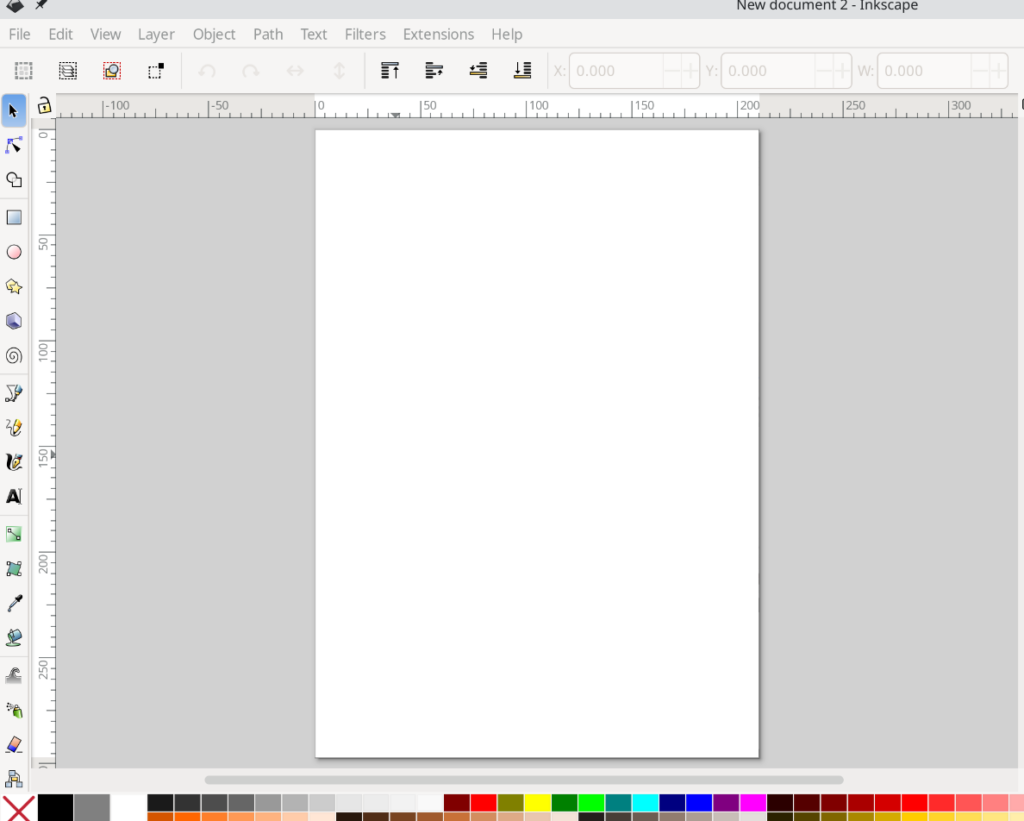
Open the application once it is installed, and you will be presented with a workspace that looks like a page.
I will demonstrate a quick way to put text on a circular path. Once the workspace is open above, I will choose the ‘Ellipse’ tool, the fourth option from the top of the left-hand menu.
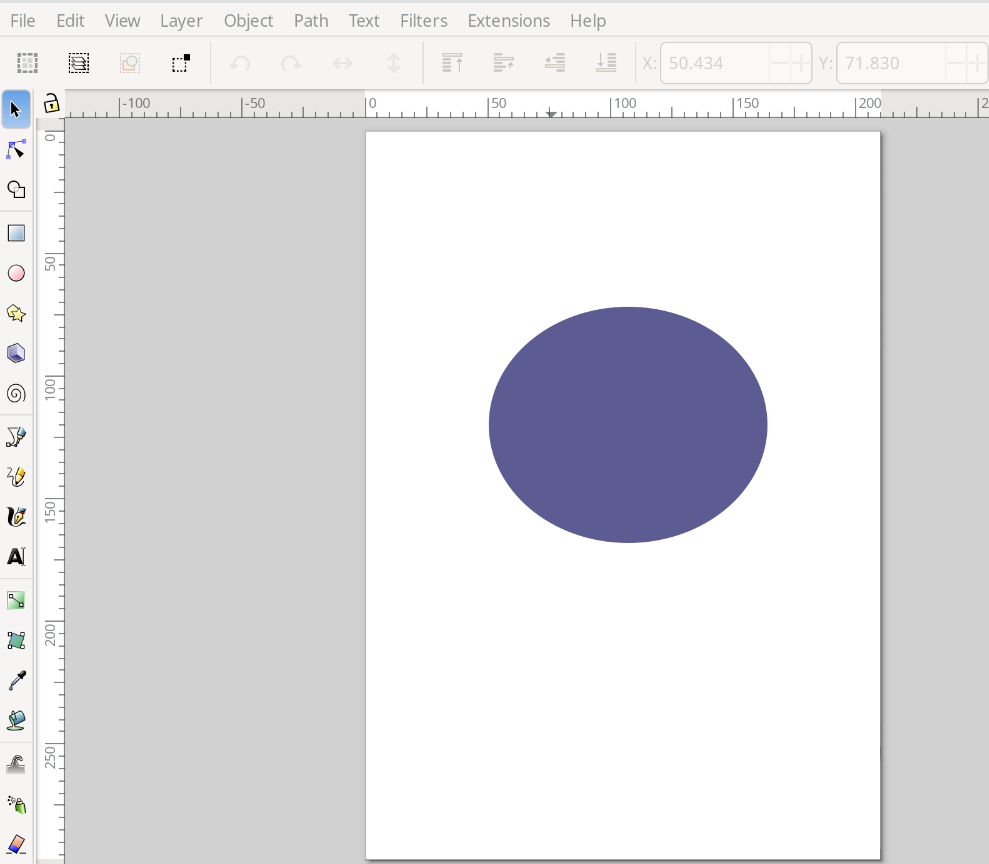
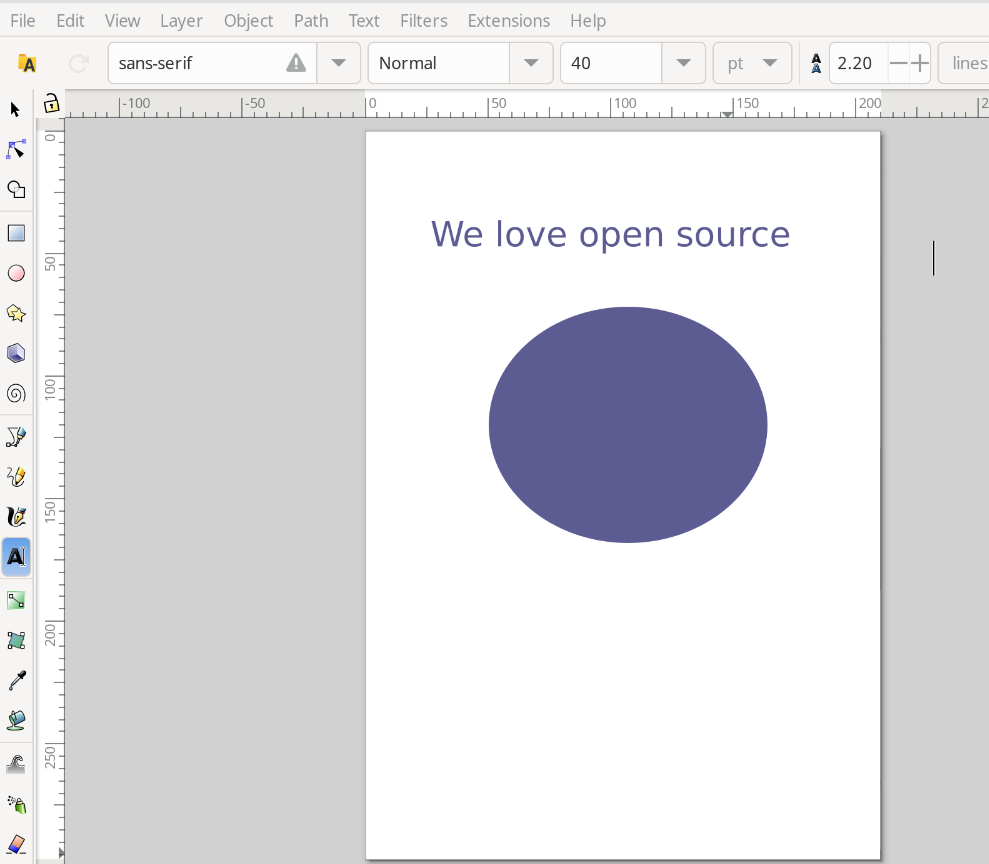
You can see that I have created an ellipse. Now, I am going to use the text tool that is symbolized by the letter ‘A’ about halfway down the toolbar on the left to add some text.
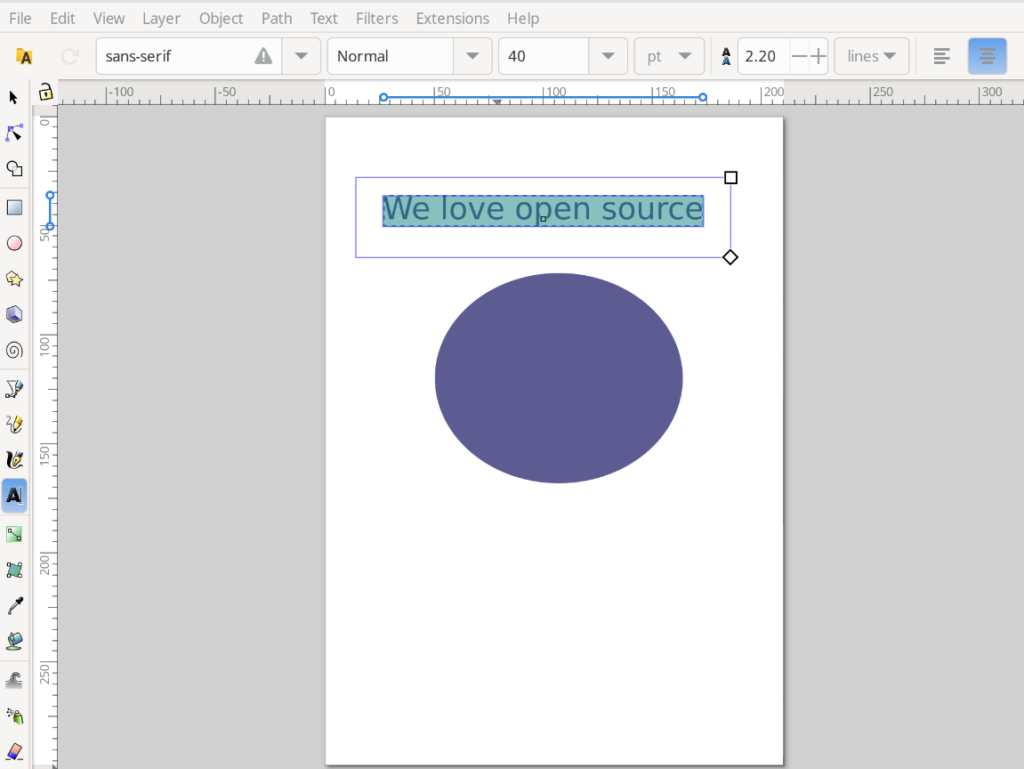
Now I am going to highlight the text and use the ‘center’ tool at the top to center the text In the text box.
Now I am going to drag my mouse pointer while depressing the left mouse button to select the text and the ellipse. This selects all the objects. After the objects are selected I am going to go to the ‘Text’ menu on the menu bar and select ‘Put on Path’.
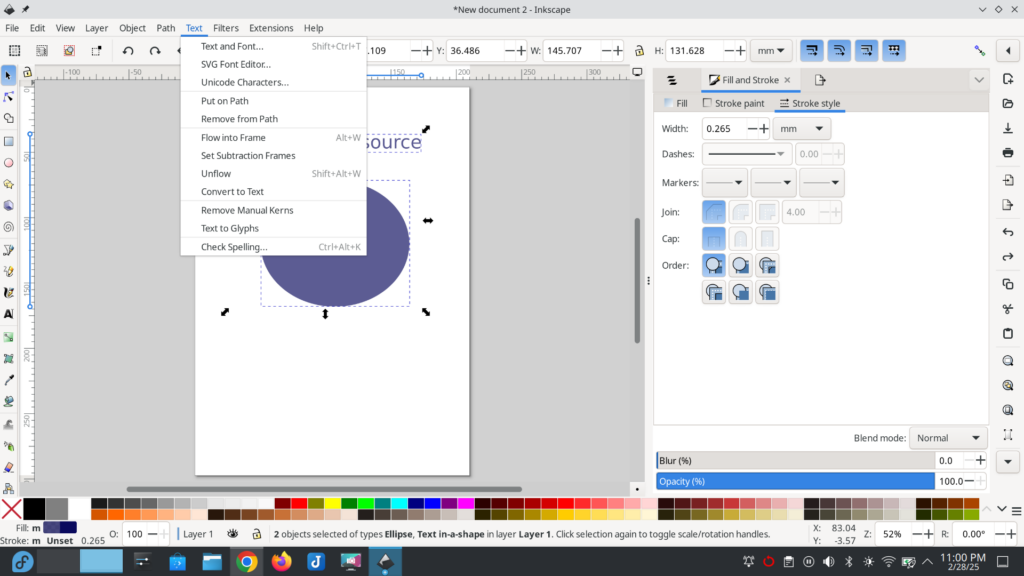
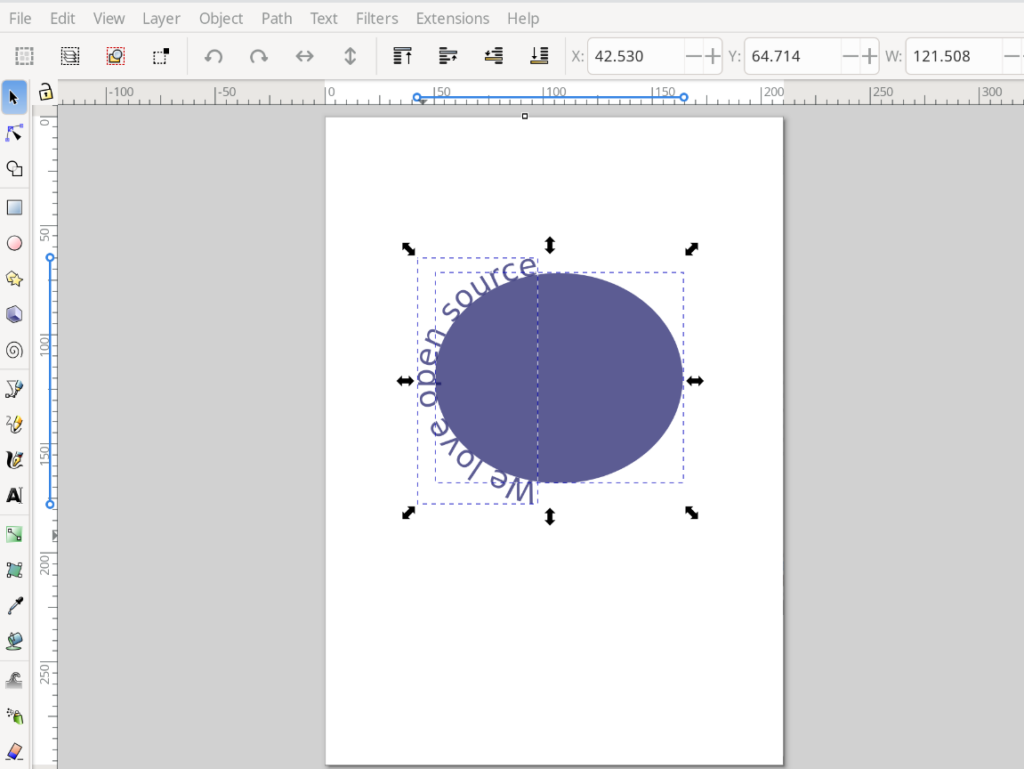
You can see in the picture below that my text has been added to the elliptical object.
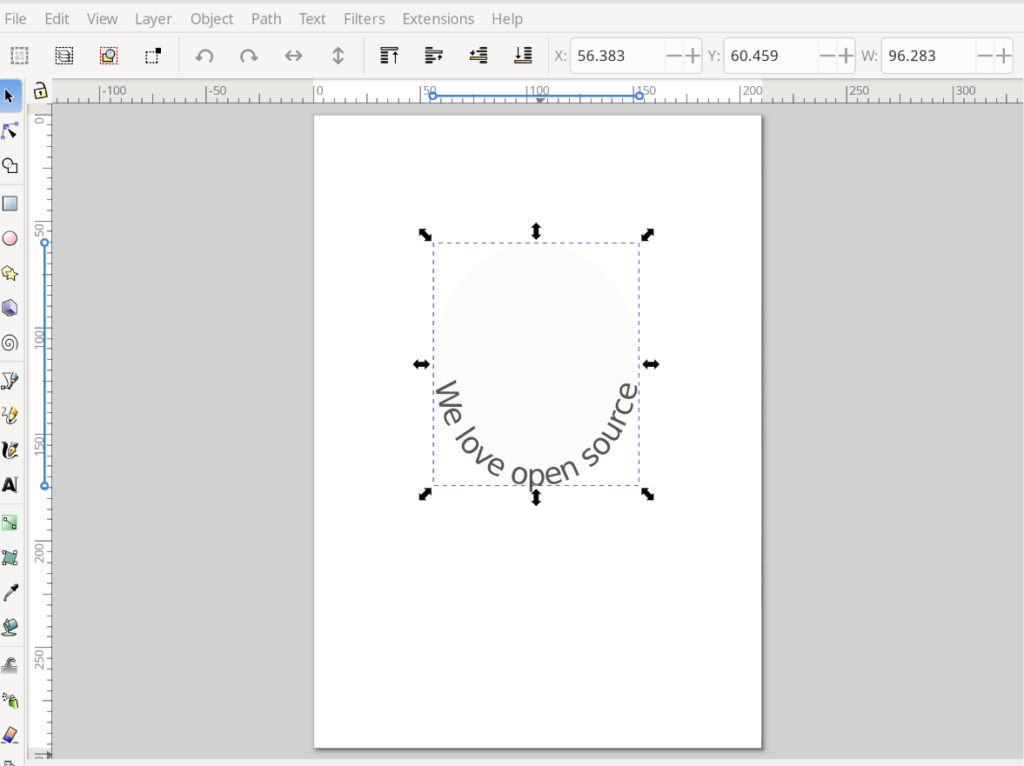
I want to move the text to the top of the ellipse and I do this by selecting ‘Object Rotate’ button at the top menu.
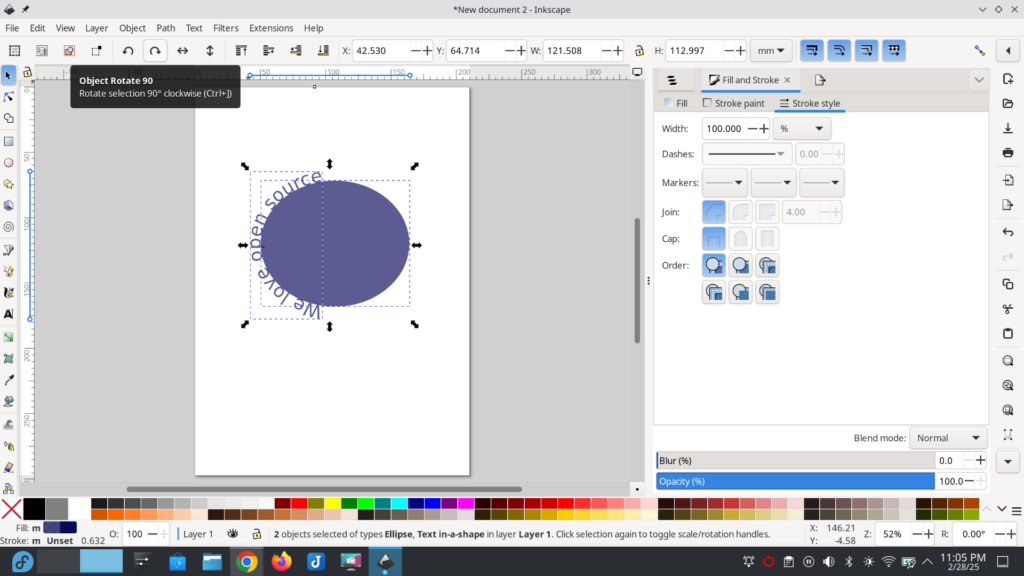
This moves the text to the top of the ellipse.

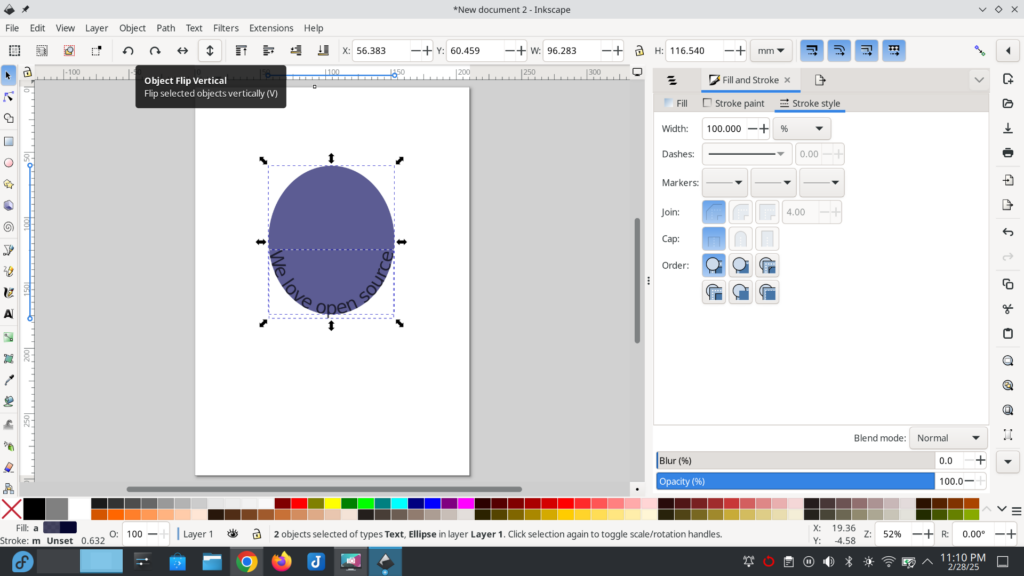
If you want the text positioned at the bottom of the ellipse, select ‘Object flip vertical’ to achieve this.
Whether you leave the text at the top or the bottom, you can change the color of the ellipse to white to make it disappear by selecting only the ellipse and one of the light colors at the bottom of the program window.
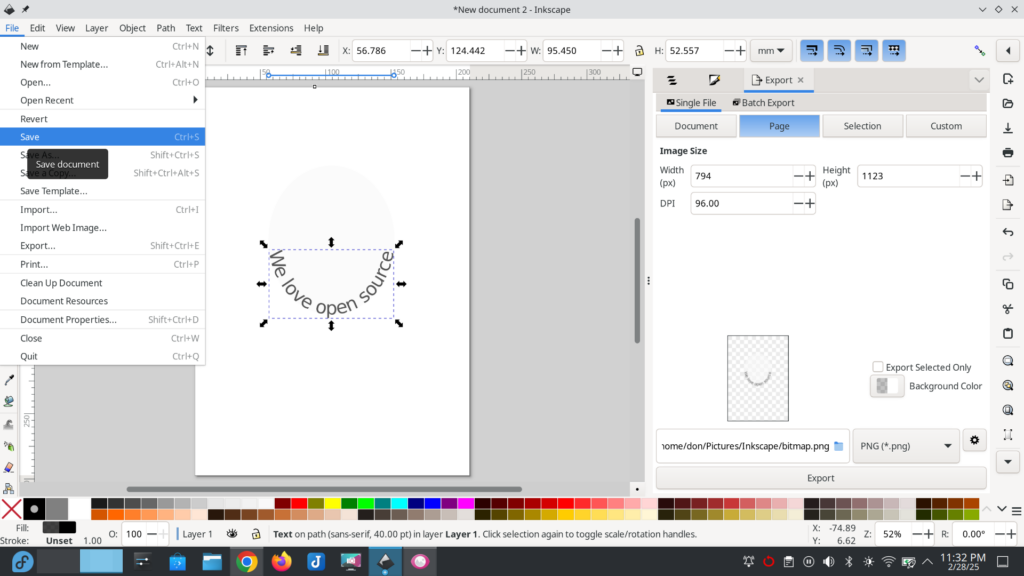
Be sure to save your work by going to the ‘File’ menu and choosing ‘Save.’ This saves your graphic in the default ‘.svg’ vector graphic format.
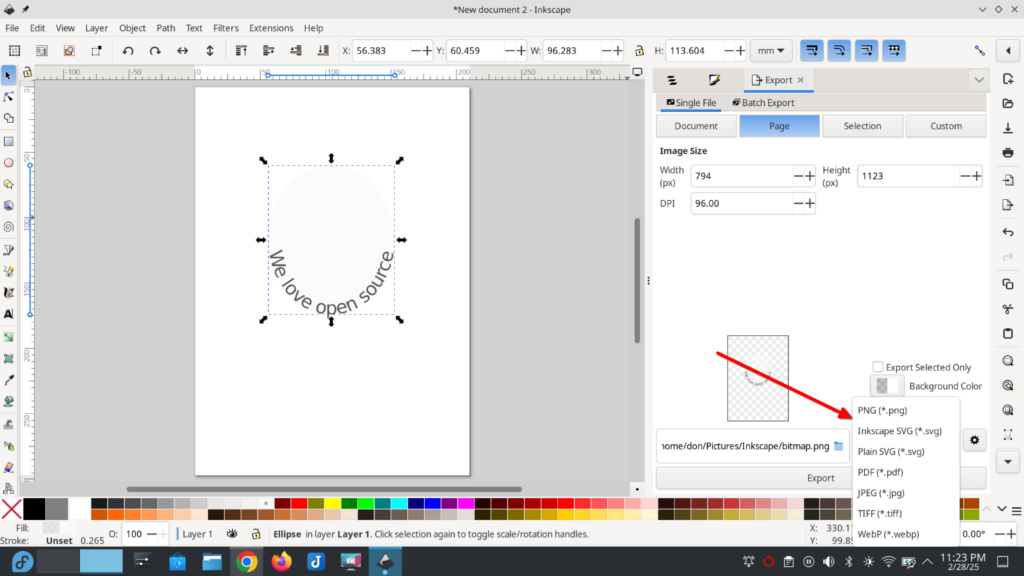
You can opt to ‘Export’ the graphic by choosing that option from the ‘File’ menu at the left and choosing one of the export options displayed at the far right of the graphic.
Inkscape is a powerful tool; for information and ideas, you can use the learning tools on the project website.