In the ever-evolving world of technology, software updates often bring excitement and anticipation as they promise new features and improvements. However, with operating system updates for proprietary operating systems, the excitement can be tempered by stringent hardware requirements that leave many users facing the inevitable need for a new computer. Fortunately, an alternative, the Linux kernel which powers the many Linux distributions and open source, allows users to embrace the latest software without hardware limitations.
A Diverse Landscape of Compatibility
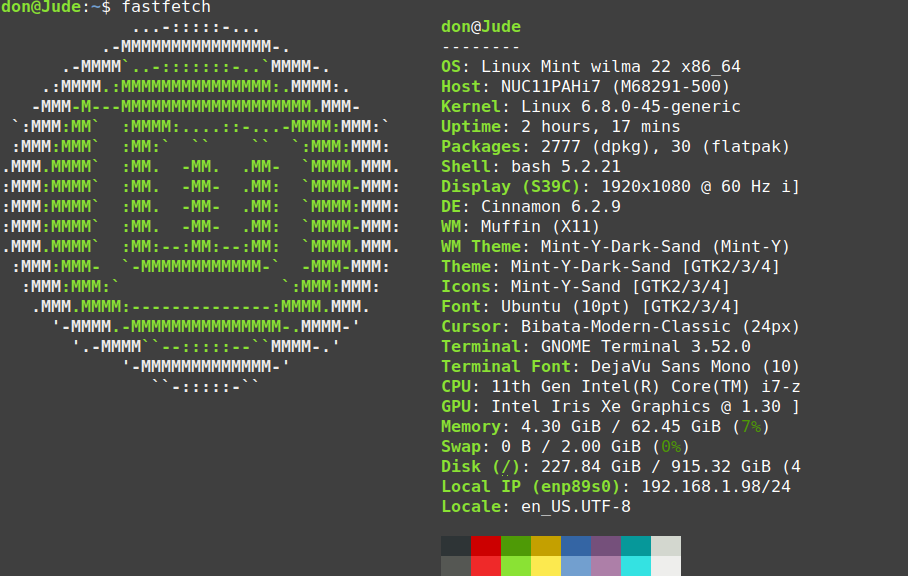
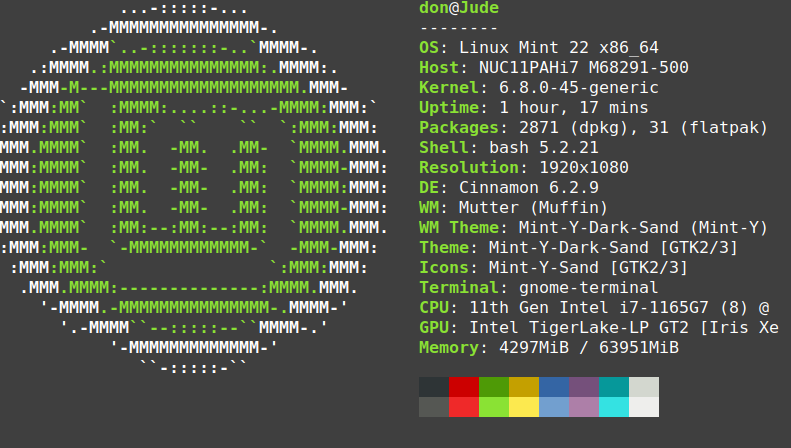
Unlike proprietary operating systems with strict hardware prerequisites, Linux distributions offer fresh air. Whether you choose Pop!_OS, Fedora, or Linux Mint, Linux’s open nature ensures compatibility with a wide range of hardware, even aging systems. This remarkable flexibility is a testament to the power of open-source software.
Take, for instance, the case of the Darter Pro laptop from System76, acquired in early 2019 with Pop!_OS 18.10 pre-installed. Despite the years that have passed, this hardware continues to support the latest versions of not just Pop!_OS but also Ubuntu, Fedora, and Arch without breaking a sweat. Such an upgrade would be an unattainable dream if one attempted to install Windows 11 on the same machine. Likewise, the closed ecosystem of MacOS locks users into a world where they can only experience the latest software if they invest in Apple’s proprietary hardware.
The Hidden Treasure of Open Source
Regrettably, many people remain oblivious to the hidden treasure trove that is open-source software. Beyond the Linux kernel that forms the foundation of countless distributions, a vast ecosystem of applications thrives, often outperforming their proprietary counterparts. This abundance of high-quality, open-source software is built on principles prioritizing user freedom and choice.
For instance, consider the MarkText application, a tool I use to craft this article. It’s an exemplary testament to the capabilities of open-source software. With abundant features, a user-friendly interface, and an active community of developers and users, MarkText competes toe-to-toe with proprietary alternatives without any vendor lock-in or hardware mandates that plague proprietary systems. This is the essence of open source—a realm in which the user controls.
Breaking the Chains of Vendor Lock-In
Vendor lock-in is a pervasive challenge in the technology world. Proprietary software and hardware vendors often design their products to ensure consumers remain captive to their offerings. This strategy serves the interests of these companies. Still, it can be detrimental to the user, who may be in a never-ending cycle of purchasing new hardware to stay current.
In contrast, Linux and open-source software operate under a different ethos. They empower users to take control of their technology. With the freedom to choose software and customize their experience, users are no longer chained to a specific vendor’s roadmap. This approach breaks the cycle of forced obsolescence and keeps hardware relevant for years, ultimately saving users money and reducing electronic waste.
A Sustainable Approach
In an era of increasing environmental consciousness, the longevity of hardware takes on added importance. The “throwaway culture” of rapid hardware turnover is financially wasteful and environmentally unsustainable. By embracing Linux and open-source software, users can extend the lifespan of their hardware, contributing to a more sustainable future.
Additionally, the open-source community fosters collaboration and innovation without the limitations of proprietary systems. Developers worldwide work together to create secure, stable, and feature-rich software, often outpacing the development cycles of their proprietary counterparts. This collaborative spirit ensures that Linux users can access cutting-edge technology without the need for frequent hardware upgrades.
Conclusion
In the world of technology, where operating system updates often come with stringent hardware requirements, Linux stands as a beacon of freedom and sustainability. Its compatibility with a wide range of hardware, commitment to open-source principles, and freedom from vendor lock-in make it a compelling choice for those who wish to break free from the shackles of constantly upgrading their hardware.
As we navigate an ever-changing technological landscape, let us remember that there is a world beyond hardware restrictions, a world where Linux and open-source software offer an oasis of choice and longevity. In this realm, the user is king, and technology serves their needs, not vice versa. So, next time you hear the siren call of a new operating system update, consider the boundless possibilities of Linux and liberate yourself from the cycle of forced obsolescence.