Open-source software is not restricted to Linux. While I spend most of my time reading, writing, and developing on Linux, I can also use many tools I love on macOS and Windows platforms. Last fall, after returning from All Things Open, I purchased an M3 MacBook Air because I wanted to experiment with some of the artificial intelligence applications I had seen at the conference in Raleigh.
As most of you know, Mac computers have a great supply of Apple-developed software, which works well for many folks. However, being a person who is used to the freedom afforded by open source, it didn’t take long before I had installed HomeBrew and then began installing my favorite open source applications.
The first app I installed was Ollama, which I used almost daily to experiment with locally run large language models. Ollama is available under the MIT license. Additionally, I experimented with Hollama, a minimal web user interface for Ollama, which also carries an MIT license. Apple Silicon processors, including the M1, M2, M3, and M4, provide excellent platforms for running locally hosted large language models.
Output from these LLMs is in Markdown, and several open-source Markdown editors are available for MacOS. I prefer MarkText on Linux, but I had trouble installing it on MacOS, so I opted for MacDown, a fine open-source Markdown editor easily installed.
% brew install --cask macdown
Apple supplies its own word processor, spreadsheet, and presentation software, but I chose LibreOffice, my favorite. It is also easily installed with HomeBrew. I also installed Joplin, my favorite cross-platform notetaking app. The world of open-source supplies all my needs.
I recently wrote about Krita and decided to install it on the M3 MacBook, too. It was easy to install with Homebrew. My experience with Krita led me to install Darktable, another open-source graphic program available on macOS. Both are easily installed with Homebrew.
% brew install --cask darktable
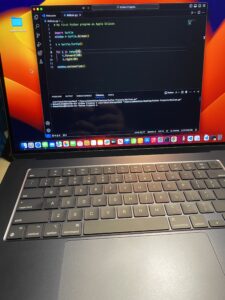
% brew install --cask kritaGimp and Inkscape are my favorite open-source graphics programs. I regularly use both of them to modify images and create vector graphics. I use VSCodium when writing and learning more about Python code on the Mac.
I installed VideoLan (VLC) on the Mac. VLC is a free, open-source, cross-platform multimedia player and framework that plays most multimedia files.
I also installed DiffusionBee, which has allowed me to explore AI image creation on my desktop.
Completing my list of favorite open-source applications that can be installed and run locally is Bitwarden, my top choice for a password manager. I have been using Bitwarden for nearly six years and highly recommend it.
All of these applications can be easily installed by downloading and installing the .dmg files or by using Homebrew from the command line. I prefer the latter as upgrading all the applications simultaneously is much easier. The number of open-source applications that run on macOS is quite lengthy. I have only shared the ones that I use, but there are many more. I discovered a comprehensive list of them on Github.